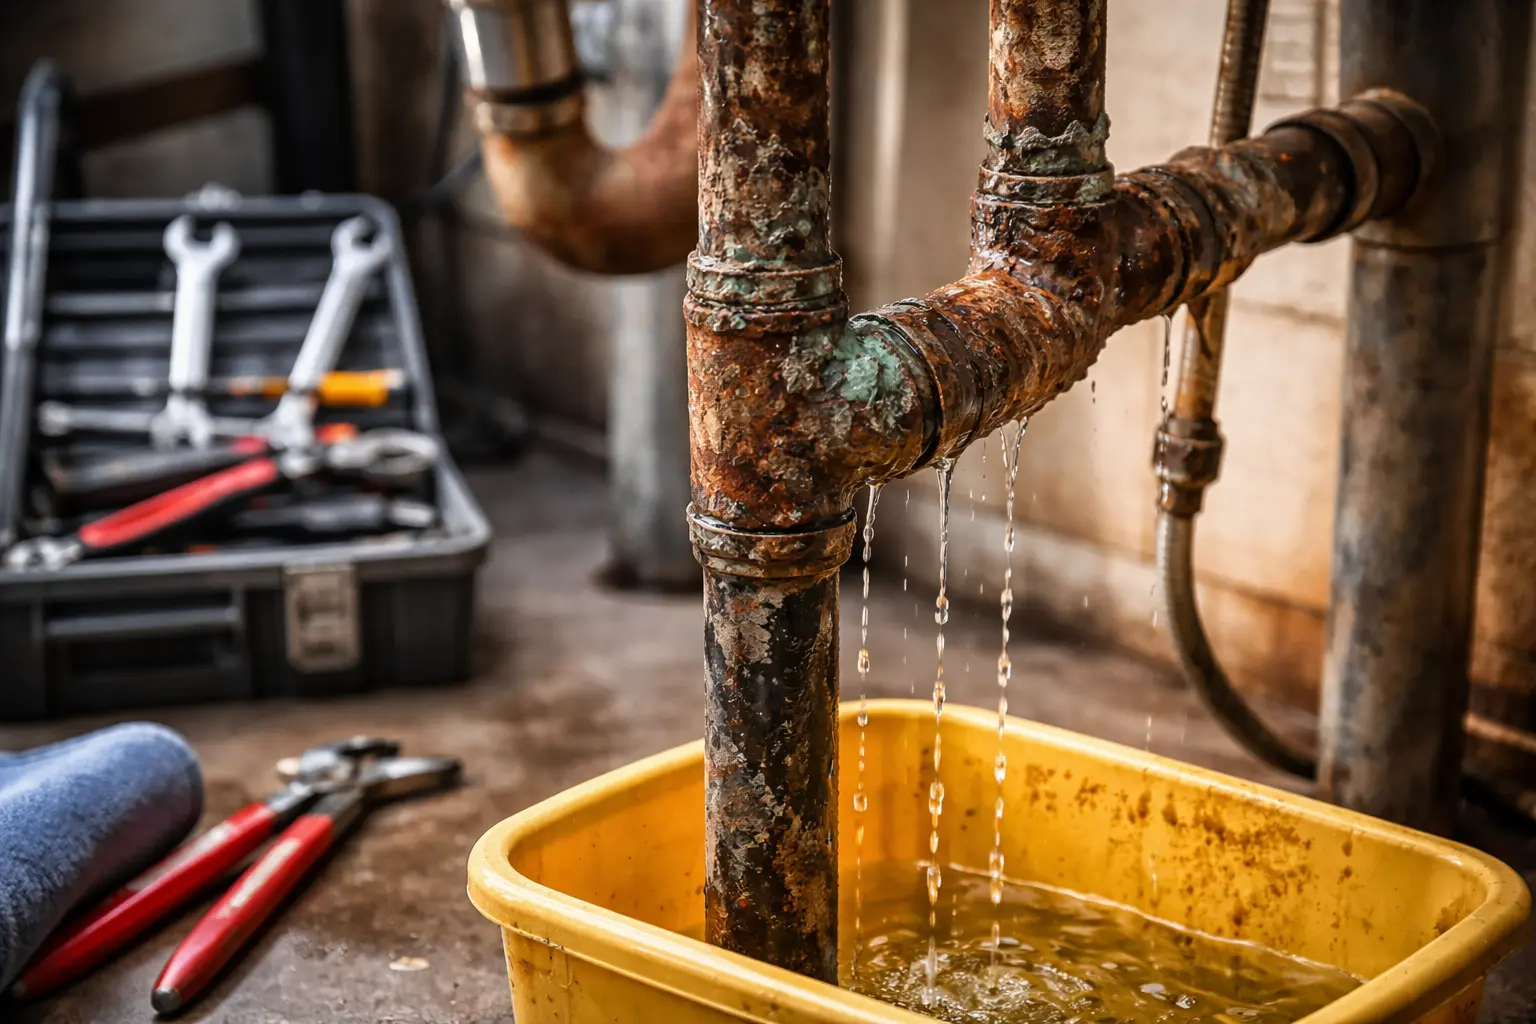
Did you ever sit on the toilet and wiggle and suspect there was something leaking somewhere down the bottom of the toilet? In most incidents, the guilty side is hidden behind a broken or inappropriately fitted toilet flange. The toilet flange is not a big element by any standard yet a very significant element which connects your toilet to the drain pipe and it also gives it airtightness to the floor. On failure, there can be the experience of leaks, bad smells, and damage on the floors.
The advantage is that there is no task as challenging as it might appear to install a toilet flange. The toilet flange can be repaired or replaced by you with the correct tools and a little bit of patience and get your toilet off its feet. By following this guide, you will know how to install the toilet flange in easy steps.
About Toilet Flange and What Does it Do?
A drainpipe is capped by a toilet flange that is directly attached to the floor using a number of bolts, according to the expert team. It fixes the toilets and creates waterproof seal with the wax ring. Your toilet may tip over, spill water and spray sewage into your bathroom without a good flange.
The flanges might crack, corrode or be too low when the flooring has been altered. When that occurs, just changing the wax ring is not going to help the situation. The correct and proper installation of the flange will keep your toilet secure and your plumbing system operational as it should be over the next few years.
Materials and Equipment
Get everything ready first or you will be forced to leave off in the middle of the way. You will require a new toilet flange, screws or concrete anchors (against your floor), a screwdriver or a drill, a wrench, a level, a putty knife, a rag and a flange repair kit may be necessary.
This is made easier and safer to have these ready. It also makes you not to hurry and this is when you normally make mistakes.
Step 1: Remove the Toilet
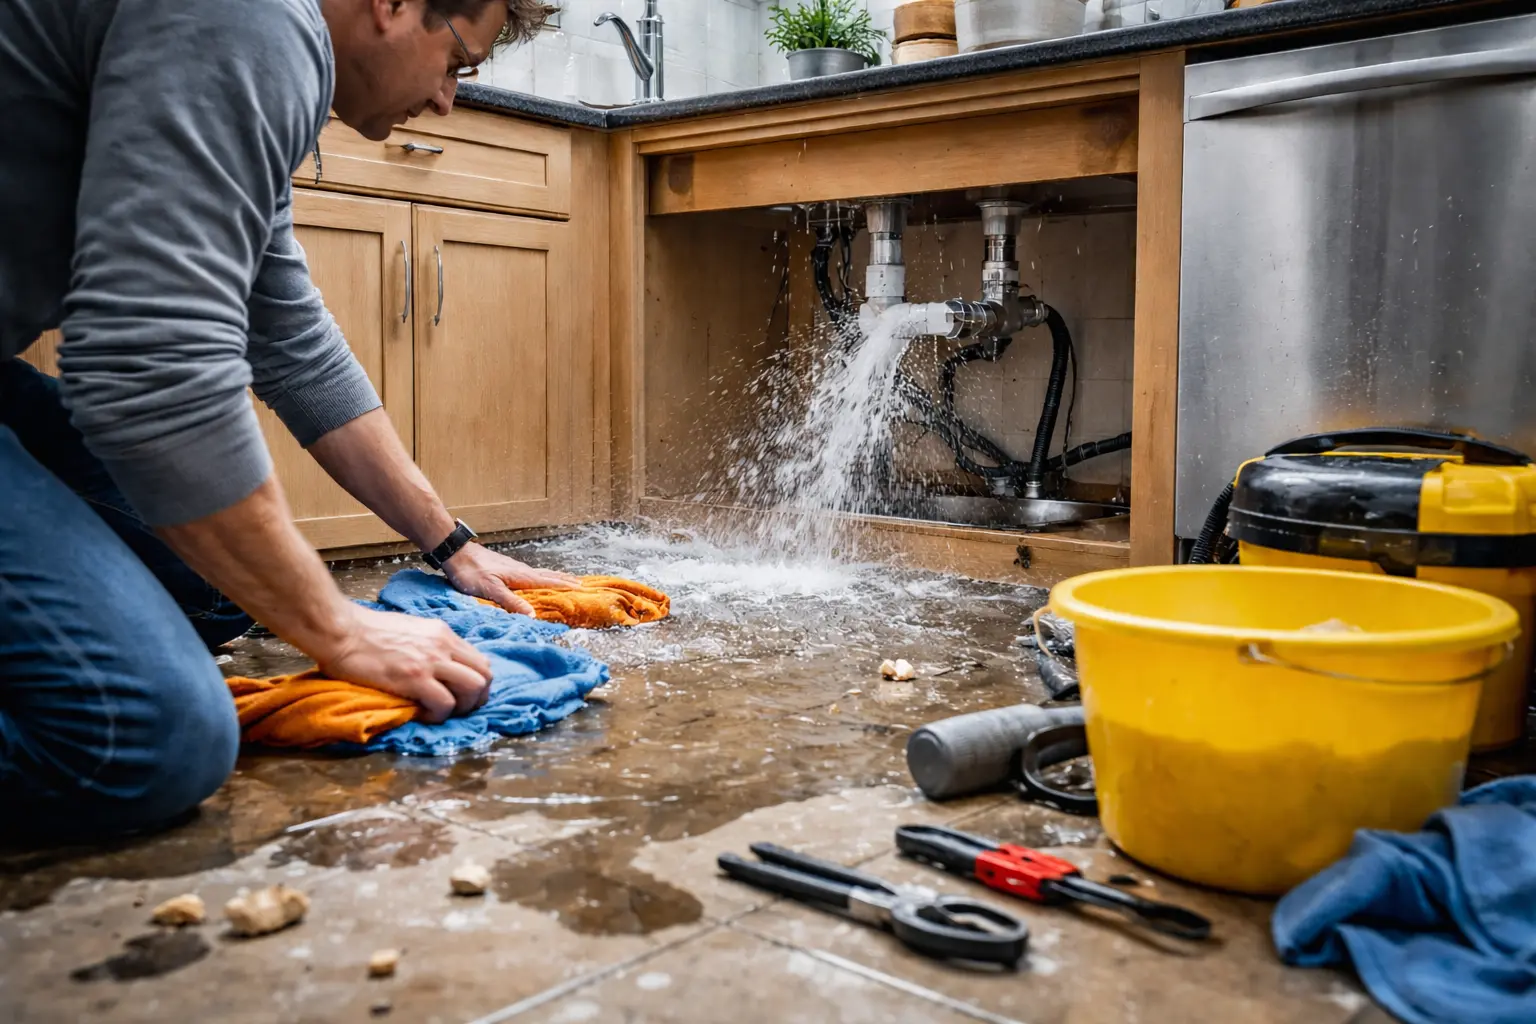
The first thing is to make it stop running water and flush the toilet to empty the tank. Then wipe out any excess water with a sponge. Disconnect the line of water and loosen the bolts on the bottom.
Raise the toilet straight up and put it on a cardboard or an old towel very carefully. This cleans the old flange and keeps your working area clean and dry.
Step 2: Check and Test the Removal of the Old Flange
When there is no toilet in place, scrape the old waxing ring with a putty knife. Look at the flange of the car and cracks, rust or wrong height.
In case the flange is damaged, loosen and unscrew it of the floor and lift it off the drain pipe in a gentle manner. Washing up the space makes the new flange fit and close appropriately.
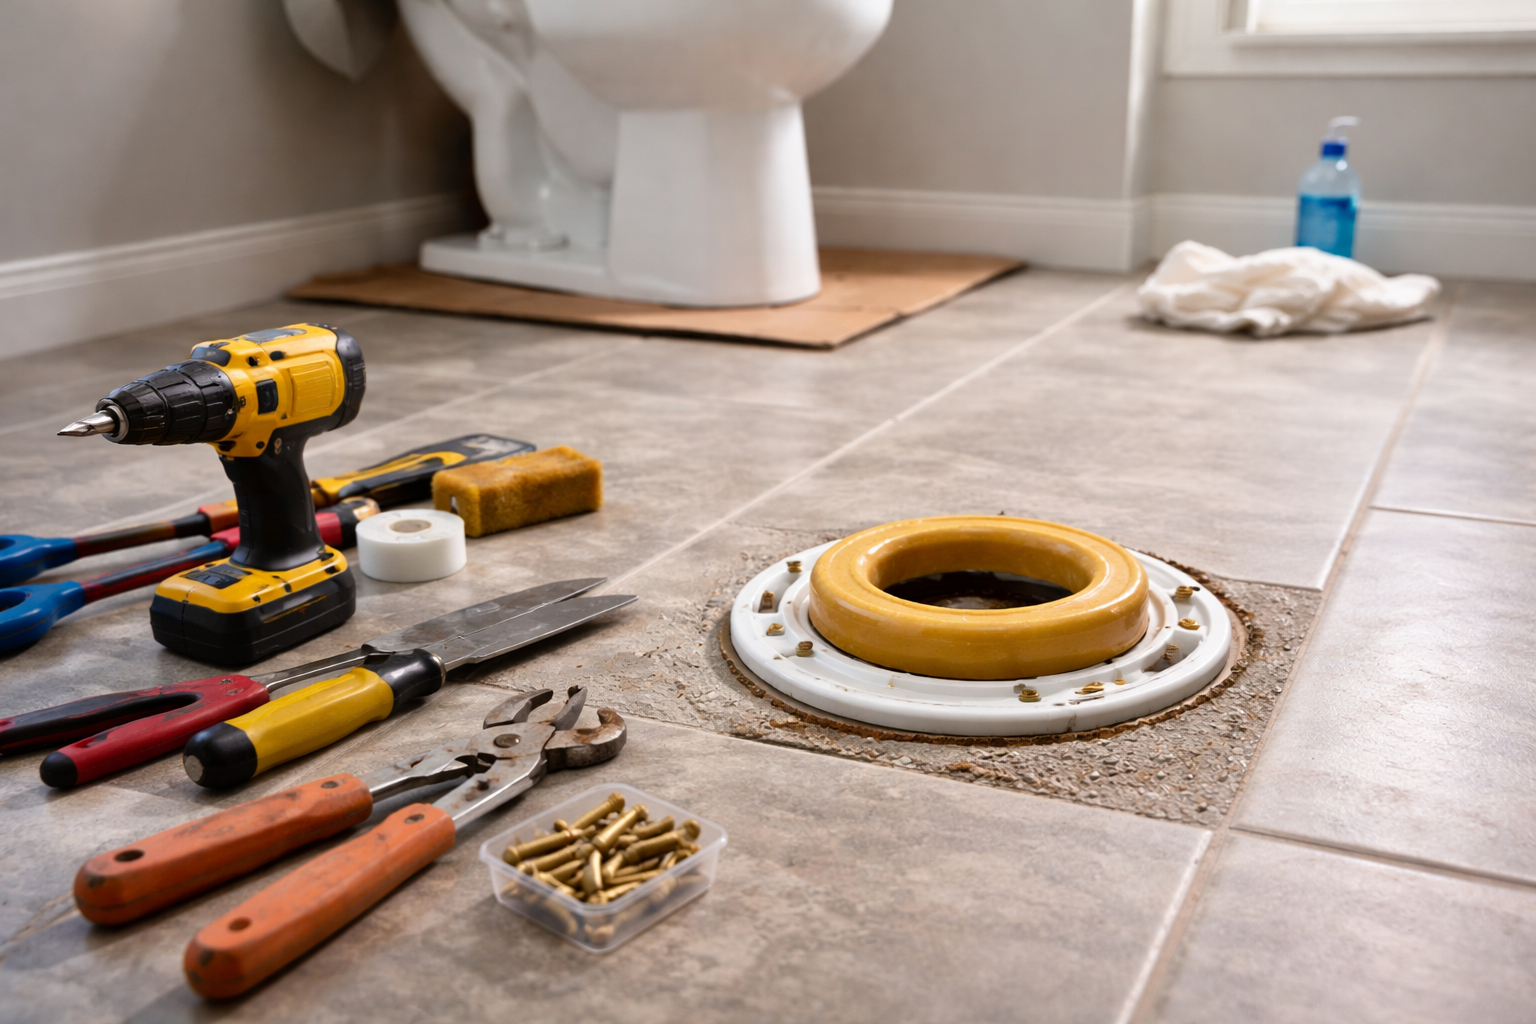
Step 3: Check the Flange Height
The new flange must not be below the finished floor but it must fit into it. When it is too low, the toilet will fail to close correctly and leakage may result.
Positioning of test: Position the flange to the pipe dry. Make sure that the slots of the bolts follow the location of the toilet. The most significant ones are height and alignment in long-term stability.
Step 4: Bracing the Flange to the Floor
After this, screw the flange to the floor. Timber floors should be screwed with wood screws and tile or concrete anchored with concrete screws.
Tighten evenly and the flange will be positioned flat. A safe flange ensures that nothing moves and the wax ring does not tear off in future.
Step 5: Fit the Closet Bolts
Insert the closet bolts into the flange slots. These bolts are used to fix the toilet. Ensure that they are not reclined and spaced equally. This aids in ensuring that the toilet is sitting in a central position and does not rock after installations.
Step 6: Place the Wax Ring
Depending on the style, press a new wax ring on a flange or at the bottom of the toilet. The wax provides a watertight and air tight vent between the toilet and the drain pipe.
Do not touch it too much and reshape it. When it is compressed, reuse is not an option which is why it is important to align all the parts before raising the toilet.
Step 7: Reinstall the Toilet
Slowly move the toilet down towards the bolts pushing it directly over them. Do not move it around, or the wax seal might become spoiled.
Seat it by pushing it and then screw the nuts on both sides in a uniform manner. You should not strangle too hard, and porcelain is going to crack. Once more connect the supply line of water and return the supply line.
Step 8: Leak and Stability Test
Flush the toilet up and down a few times and find out whether there is water at the bottom. Sitting position, no wobble.
You are good when it is all hard and dry. Another last wiping would remove the dirt in your bathroom and make it available.
Conclusion
Installation of toilets flange is a small task however it plays a big role in safety and hygiene in your bathroom. Through these eight steps, recommended by professional plumbers, you are able to barricade the damages of water to your floors, bad odours, and enhanced toilet stability.
With some attention, the appropriate equipment and a bit of work, this DIY project will enable you to feel comfortable and have a leak-free and firm toilet in place in a few years.